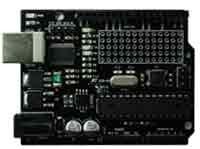
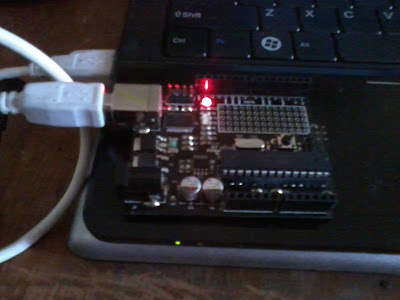
I decided to write a tutorial on how to start off with your programming adventure in ACEduino 328 (Arduino clone from Alexan Commercial) under Debian and Ubuntu based Linux distributions because I met some people who are having a hard time working this Arduino clone under Linux. Most of their problems is running the customized Arduino IDE for ACEduino (ACEduino IDE) because it only works on Windows even though you run it under wine.
The truth is, whether you are a Windows or a Linux user, you don't need to download the ACEduino IDE and that you can just use the original and official Arduino IDE from arduino.cc. Now type or copy the commands below in order to download and untar the file using your terminal:
wget http://arduino.googlecode.com/files/arduino-1.0.1-linux.tgz
tar -xvf arduino-1.0.1-linux.tgz
Before running the IDE, make sure were able to install the openjdk-7-jre package in your distribution (openjdk-6-jre, sun's java 6 runtime, the sun-java6-jre package or the oracle JRE 7, should work too), if not type this in your terminal:
sudo apt-get install openjdk-7-jre
Then navigate through its directory and run the IDE:
cd arduino-1.0.1
./arduino
Now plug in your ACEduino 328 to your computer with a USB cable (USB A / B).
The next thing you should do is to setup your board preference. Click on Tools > Board then choose Arduino Dueminalove w/ ATmega328 because ACEduino 328 is compatible with this hardware and the clone of Arduino Dueminalove.
Now you can start writing your own sketch.
Sample Project: 3 Sequencing Lights
Requirements:
- 3 LEDs
- Arduino Board
The first thing that you need to do is to attach the long leg of the 1st LED (the positive leg which is the anode) to pin 13 and the short leg (the negative leg which is the cathode) to the GND Pin of your Arduino board. Second, attach the long leg of the 2nd LED to pin 12 and its short leg to GND Pin. Third, attach the long leg of the 3rd LED to pin 11 and its short leg to GND Pin. You can also use a breadboard for attaching the legs of the LED just like the image below.
Here is the sample code for the 3 sequencing lights:
int led1 = 13; // 1st LED connected to pin 13
int led2 = 12; // 2nd LED connected to pin 12
int led3 = 11; // 3rd LED connected to pin 11
void setup()
{
// setting the three digital pins as outputs
pinMode(led1, OUTPUT);
pinMode(led2, OUTPUT);
pinMode(led3, OUTPUT);
}
void loop()
{
digitalWrite(led1, HIGH); // turns the led ON
delay(100); // waiting time = 100 milliseconds
digitalWrite(led1, LOW); // turns the led OFF
delay(100);
digitalWrite(led2, HIGH);
delay(100);
digitalWrite(led2, LOW);
delay(100);
digitalWrite(led3, HIGH);
delay(100);
digitalWrite(led3, LOW);
delay(100);
}
Now upload the code above to your board and the result should be something like the video below.


No comments:
Post a Comment